Text & appearance
Your choices apply to all pages in this browser.
Join in · Explore outdoors
How to Build a Snow Wusel
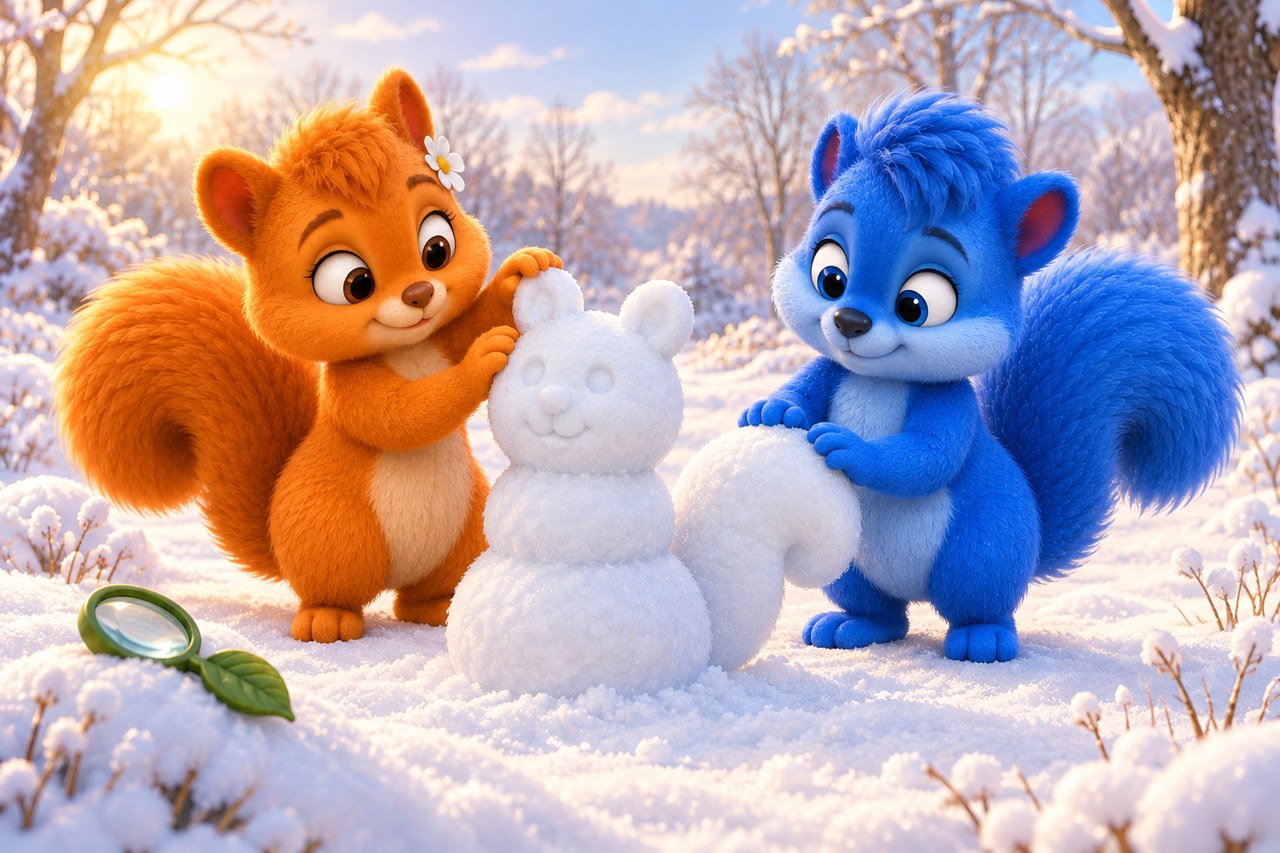
Three small snowballs make a snowman. Add two round ears and a snow tail to make your own Snow Wusel, just like Puschel and Flauschi.
About 20–40 minutes, with breaks whenever neededTogether with an adultNo printer · from about age 6
What you need
- Snow that holds together when squeezed into a little ball
- Warm clothes, waterproof gloves and shoes with good grip
- An adult to join in and help put the balls on top
- Optional: a little borrowed hat to take home again
- A little carrot and seven small smooth pebbles for the eyes and mouth
Six steps to your Snow Wusel
Test the snow
With gloves on, squeeze a small handful of snow together. If the ball stays whole, you can start. If it falls apart, the snow may be too dry today. Do not force it by adding water: an icy patch would be slippery.
Roll the bottom ball
Make a little ball and roll it a short distance over clear snow. Change direction now and then. Stop while it is still light. Put it in your chosen spot and flatten its underside a little.
Add the belly and head
Make a smaller ball for the middle and an even smaller one for the head. Make a shallow dip on top of the bottom ball. With an adult, put the middle ball in the dip. Pack snow around the join. Put the head on the middle in the same way. If something wobbles, make it smaller or place it again.
Shape two Wusel ears
Attach two little rounded pieces of snow to the sides at the top of the head. Smooth soft snow around the joins. Small, thick ears are more likely to hold than thin ears sticking far out.
Build the snow tail
Gather some snow behind the bottom ball into a broad, low curve. Join it to the body. Keep the bottom of the tail supported by the ground; do not make a tall tip that stands on its own. Gently patting the snow makes the shape smoother.
Make a face and paws
Gently press two small smooth pebbles onto the head for eyes. Add a little carrot nose between them. Four pebbles below make a smiling mouth. Two little snow lumps at the front of the belly become paws. An adult helps put the pieces in place. If you like, place a borrowed little hat between the ears. Your Snow Wusel is finished without a hat too.
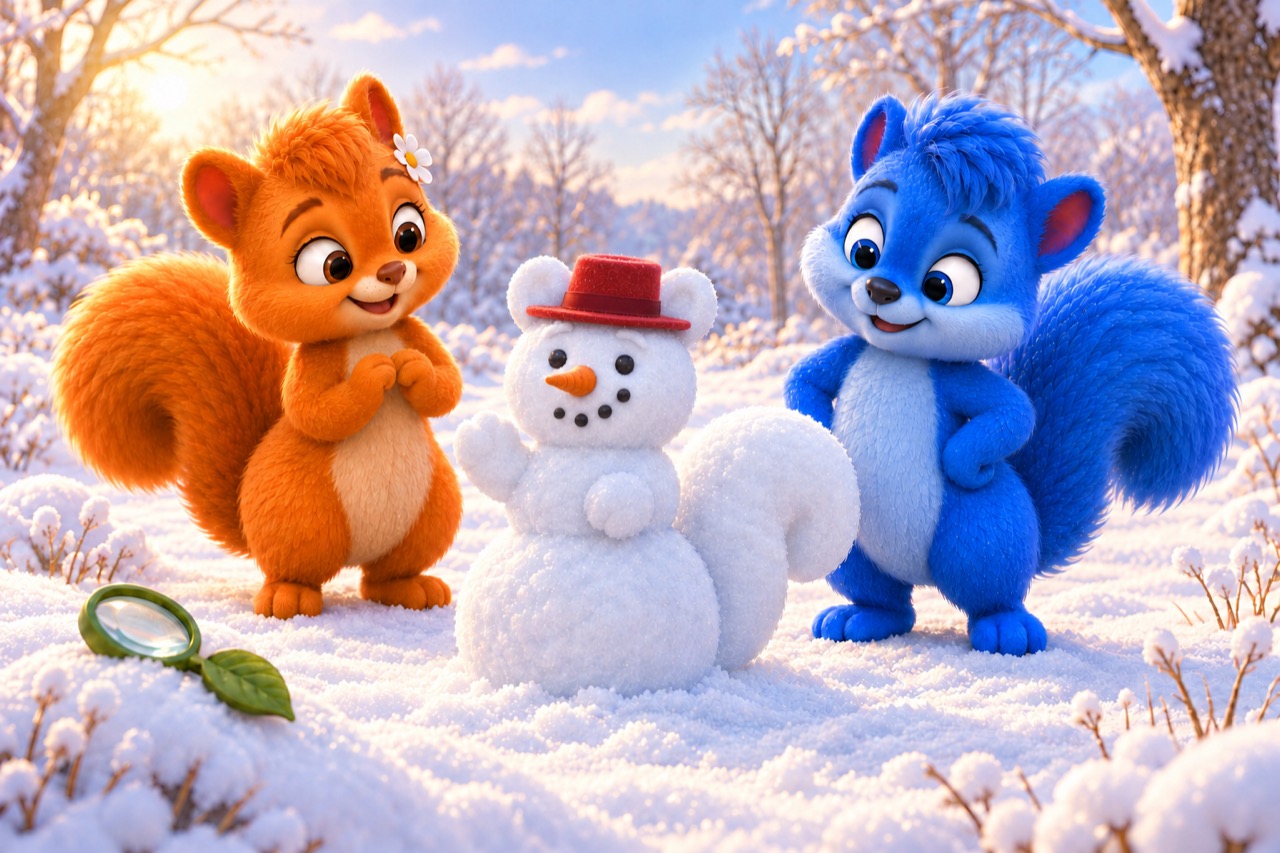
Step back and look at your Snow Wusel. It does not have to be perfect. If something falls off, put it back or leave it as it is. Take the carrot, pebbles and hat home before you leave, so nothing is left behind when it melts.
Only a little snow, or none at all?
With only a little snow, make a tiny Snow Wusel right on the ground instead of stacking big balls. If the snow will not stick together, or there is none, draw your Snow Wusel on paper and think of a name. Building can wait for the next suitable snowy day.
Why does the biggest ball go at the bottom?
The Snow Wusel needs a wide base. A little head puts less weight at the top. On level ground with a flat underside, this arrangement usually stands better than a big ball on a little one.
About snow: Met Office: Snow – wet and dry snow